

Potion Making Lessons I Learned the Hard Way
10 Mistakes I Made So You Don’t Have To


This article may contain affiliate links. If you purchase products through my link, I earn a small commission at no extra cost to you. Your support helps sustain my small business
When I discovered my passion for potion making, I didn’t realize how small a niche it was. What started as a creative experiment quickly became an obsession that required a lot of digging, guessing, and trial and error to master. There wasn’t much information about creating color-changing potions, leaving me to scour the internet to piece things together. Mistakes were made. Getting to where I am now was much more complicated than expected. Here are some of the top lessons I’ve learned the hard way when it comes to potion crafting.
#1. Always Wash Your Potion Bottles
When I first started potion making, I had issues with my bottles growing mold, clumping, or finding random things floating in them. One day, I grabbed a potion bottle that I’d just gotten from the store, and was about to start pouring the liquid in it when I realized there were tiny pieces of cork on the bottom. I quickly realized that despite my potion bottles looking clean at first glance, some weren’t.
Even contaminants you can’t see can ruin a potion, and the easiest way to fight this is by cleaning your bottles. Warm water, dish soap, and letting them air dry can stop issues from arising in your magical creations. Since I started washing every bottle, most of my early potion issues disappeared.
#2. Don’t Use Tap Water
Tap water typically contains chemicals and bacteria that can mold in sealed environments. Every potion I made with tap water grew mold within the first week, like clockwork. I quickly started researching items like snow globes or liquid-filled tumblers to find out what others were using that caused them to stay in pristine condition for years. After much research, I realized that the number one suggestion was to use distilled water, which you can get relatively cheaply at your local grocery store.
Distilled water doesn’t 100% guarantee that your potion won’t mold or clump, but it greatly decreases the odds. Because it isn’t a sure thing, some potion makers use isopropyl alcohol as a liquid base, which is a good option as long as you have your cork situation figured out (using a standard cork with alcohol can cause the cork to become flammable).
My go-to mix: 50% distilled water + 50% isopropyl alcohol, sealed with twist caps or rubber corks.
#3 Standard Corks Are Flawed
Note: This section is about using standard corks with liquid/color-changing potions. I use standard corks with my apothecary jars that often contain viscous liquids such as corn syrup, soap, and gel.
Speaking of corks, let’s get to one of the hardest lessons I’ve had to learn, which is that standard corks (the ones that come with most potion bottles) suck. These corks are not airtight or waterproof; using them as is will cause leaking, evaporation, and possible contamination in your color-changing potions.
I ruined so many potions trying to make standard corks work. So what can you do? Luckily, there are better options.
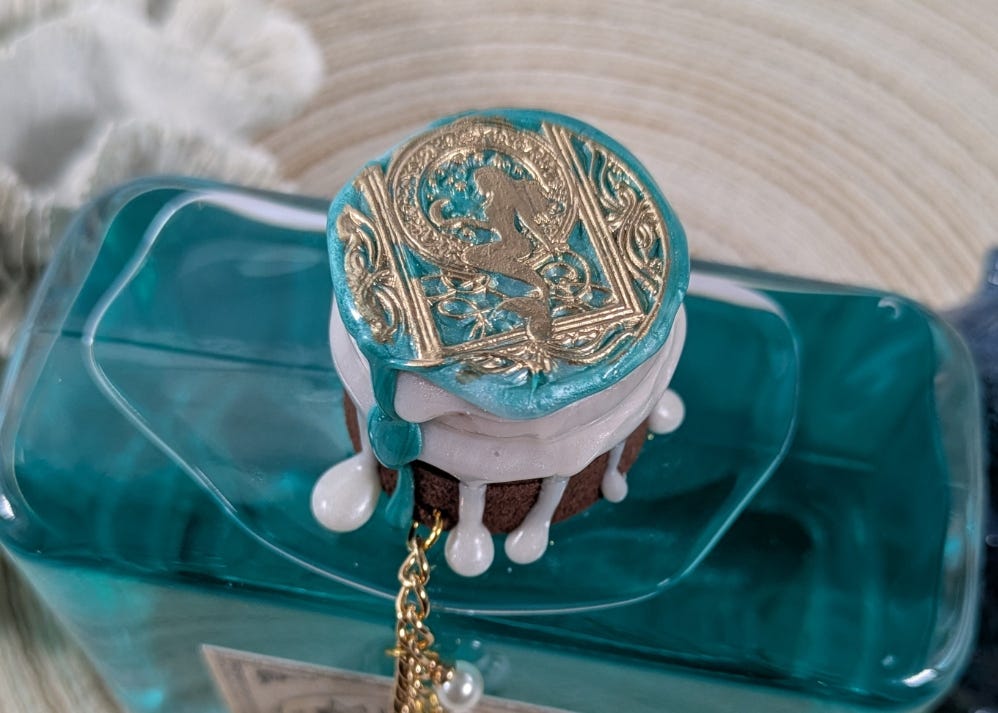
Screw Top Bottles: My go-to choice; the only drawback is that the bottles don’t have that traditional look, but I often cover up the tops with sealing wax.
Rubber Corks: Check carefully that they are sealed well, and sit something heavy (like a few books), on top of the potion immediately after sealing them, because the corks will move/pop up.
Sealing Corks With Resin: Gives you the classical potion look, but allows the corks to hold up over time. This option requires using PPE and some trial and error to get the corks coated.
Solid Corks: These are whole corks, cut to size, not the same as the standard corks you get with your potion bottles (these standard corks are called agglomerated corks). You can find some solid cork options on Amazon (but they are harder to find there), or you can go through companies like Widgetco, which sells corks. These corks can be more expensive and still have some defects, such as holes and gaps.
#4 Mica Matters
Mica is expensive, so I used the cheapest brands I could find on Amazon when I first started creating potions. It worked well, but I quickly realized that some of my potions weren’t holding up over time. Some would clump or some would leach color, so I decided to invest in better mica.
I choose to use the mica brands Meyspring and EyeCandy.
Meyspring has bolder and brighter mica colors, allowing me to create unique color combinations. EyeCandy’s larger particle mica gives a more glittery look, while their color-shifting powders add depth and movement to potion swirls. After switching brands, my potions kept their color and shimmer months later.
#5 Write Down Your Recipes
It’s so easy to start experimenting with color combinations, but when you’ve finally found the one you want, you realize you can’t remember which shade of blue you used. Writing down your potion recipes is necessary to replicate the exact look multiple times. I use recipe cards or a Notion template that keeps track of the base colors and brands of mica I use.
I also realized it was difficult figuring out how much mica I used in my potions, so I switched to using 0.15g (150mg) cosmetic scoops to measure my mica instead of simply winging it, making my recipes more precise.
#6 Don’t Use Candle Wax
If you want that classical bottle look, you know the one with the thick wax dripping just the right way down the bottle, then you want to ensure you don’t use candle wax. When I started making potions, I went to the best place to find DIY info: Pinterest. I found a bunch of pins about using candle wax and crayons for potions. So I tried it, and the results were a messy potion that looked more like a melted crayon experiment than an arcane magical item. Candle wax is too thin—it cracks, flakes, and runs instead of forming that rich, dripped texture. I did more research and realized there are different types of waxes, and the one used in potion making is sealing wax.
After getting my first sealing wax kit from Amazon, I fell in love with wax seals, and it became my favorite part of potion making. I love it so much that I even make wax seals to add to my packaging. If you’re interested in the different types of sealing wax you can use for potion crafting, check out my article: The Best Sealing Wax for Potion Bottles.
#7 Don’t Seal Your Potions With Hot Glue
If you want your potions to last longer than a couple of weeks, you’re going to want to seal your potions with something stronger than hot glue. All of my beginner potions sealed with hot glue failed because they were not water-tight or airtight. I quickly realized I needed something more substantial and found my go-to: E-6000.
Some potion makers use UV resin to seal their potions, and it depends on your preference. UV resin is an excellent alternative if your potion uses an alcohol base, since alcohol can slowly break down E-6000 over time. Again, when using something like UV resin, ensure you use PPE in a well-ventilated area.
#8 Be Careful What You Add To Your Potions
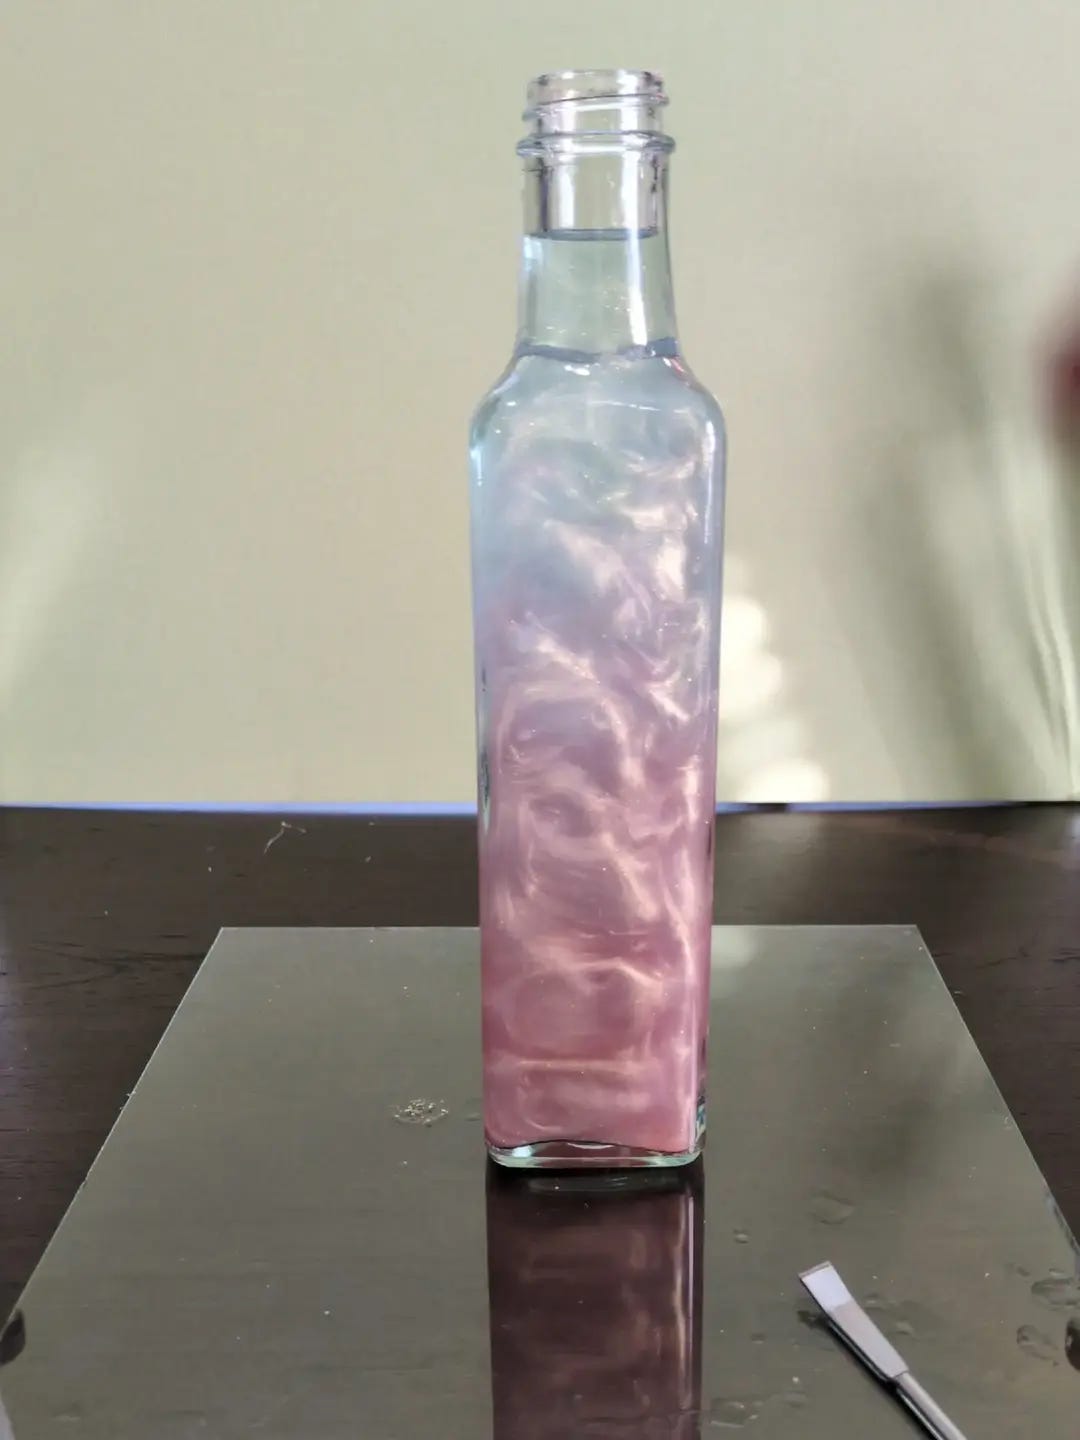
One of my first potion experiments was a small bottle with water, craft moss, and beads. I was going for a cottagecore vibe, and it looked so cute. I used distilled water and set it on my bookshelf with some of my other experiments. Two weeks later, I realized half the water had evaporated, and mold was growing in the bottle. Another potion I tried earlier on was a love potion-a pink potion with colored glass shards. A month later, the potion had turned a different shade of pink, and the glass shards were no longer multi-colored.
I’ve not had a lot of luck adding additions to color-changing potions, but other potion makers don’t have the same issue. It’s about finding the right materials and knowing how they will react with your liquid. The cottagecore potion grew mold because I did not thoroughly clean the beads, the bottle wasn’t airtight, and the moss was not meant to be submerged for long periods. The shards in the love potion leached their color because I was using 100% alcohol as a liquid base.
Every material reacts differently, so always test first. Let your potions sit for a few weeks to a couple of months to ensure no unwanted reactions.
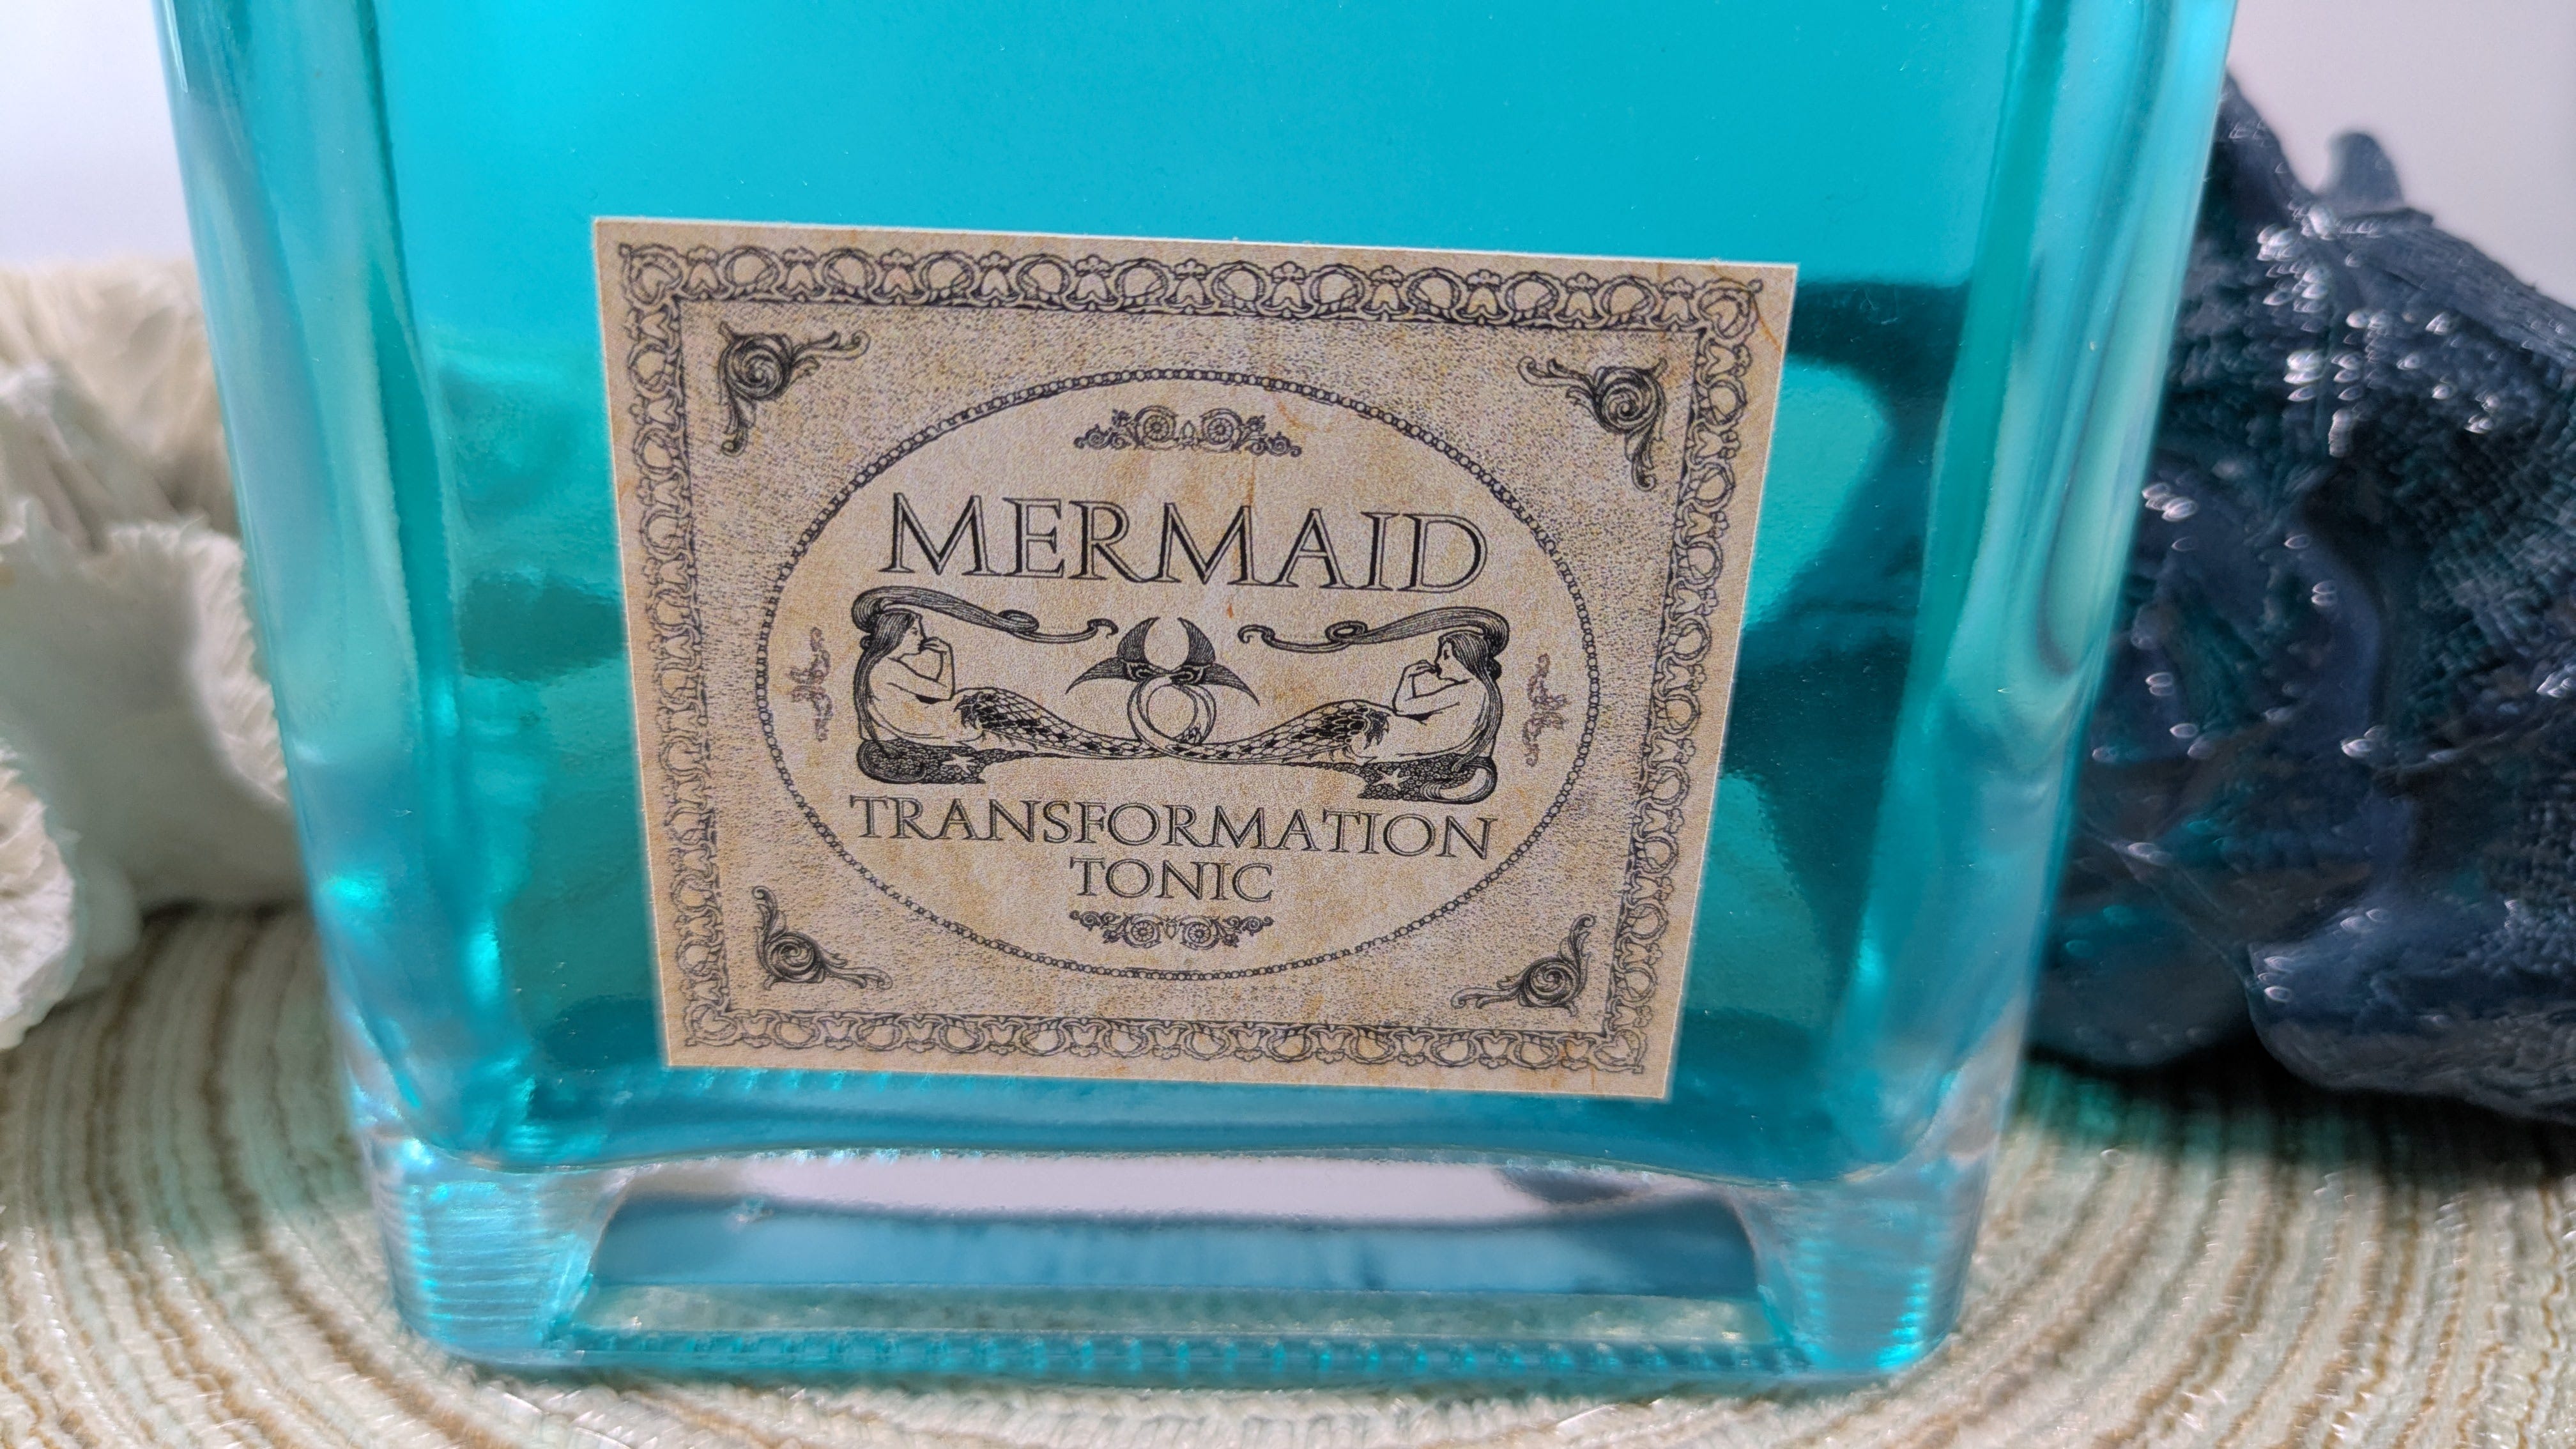
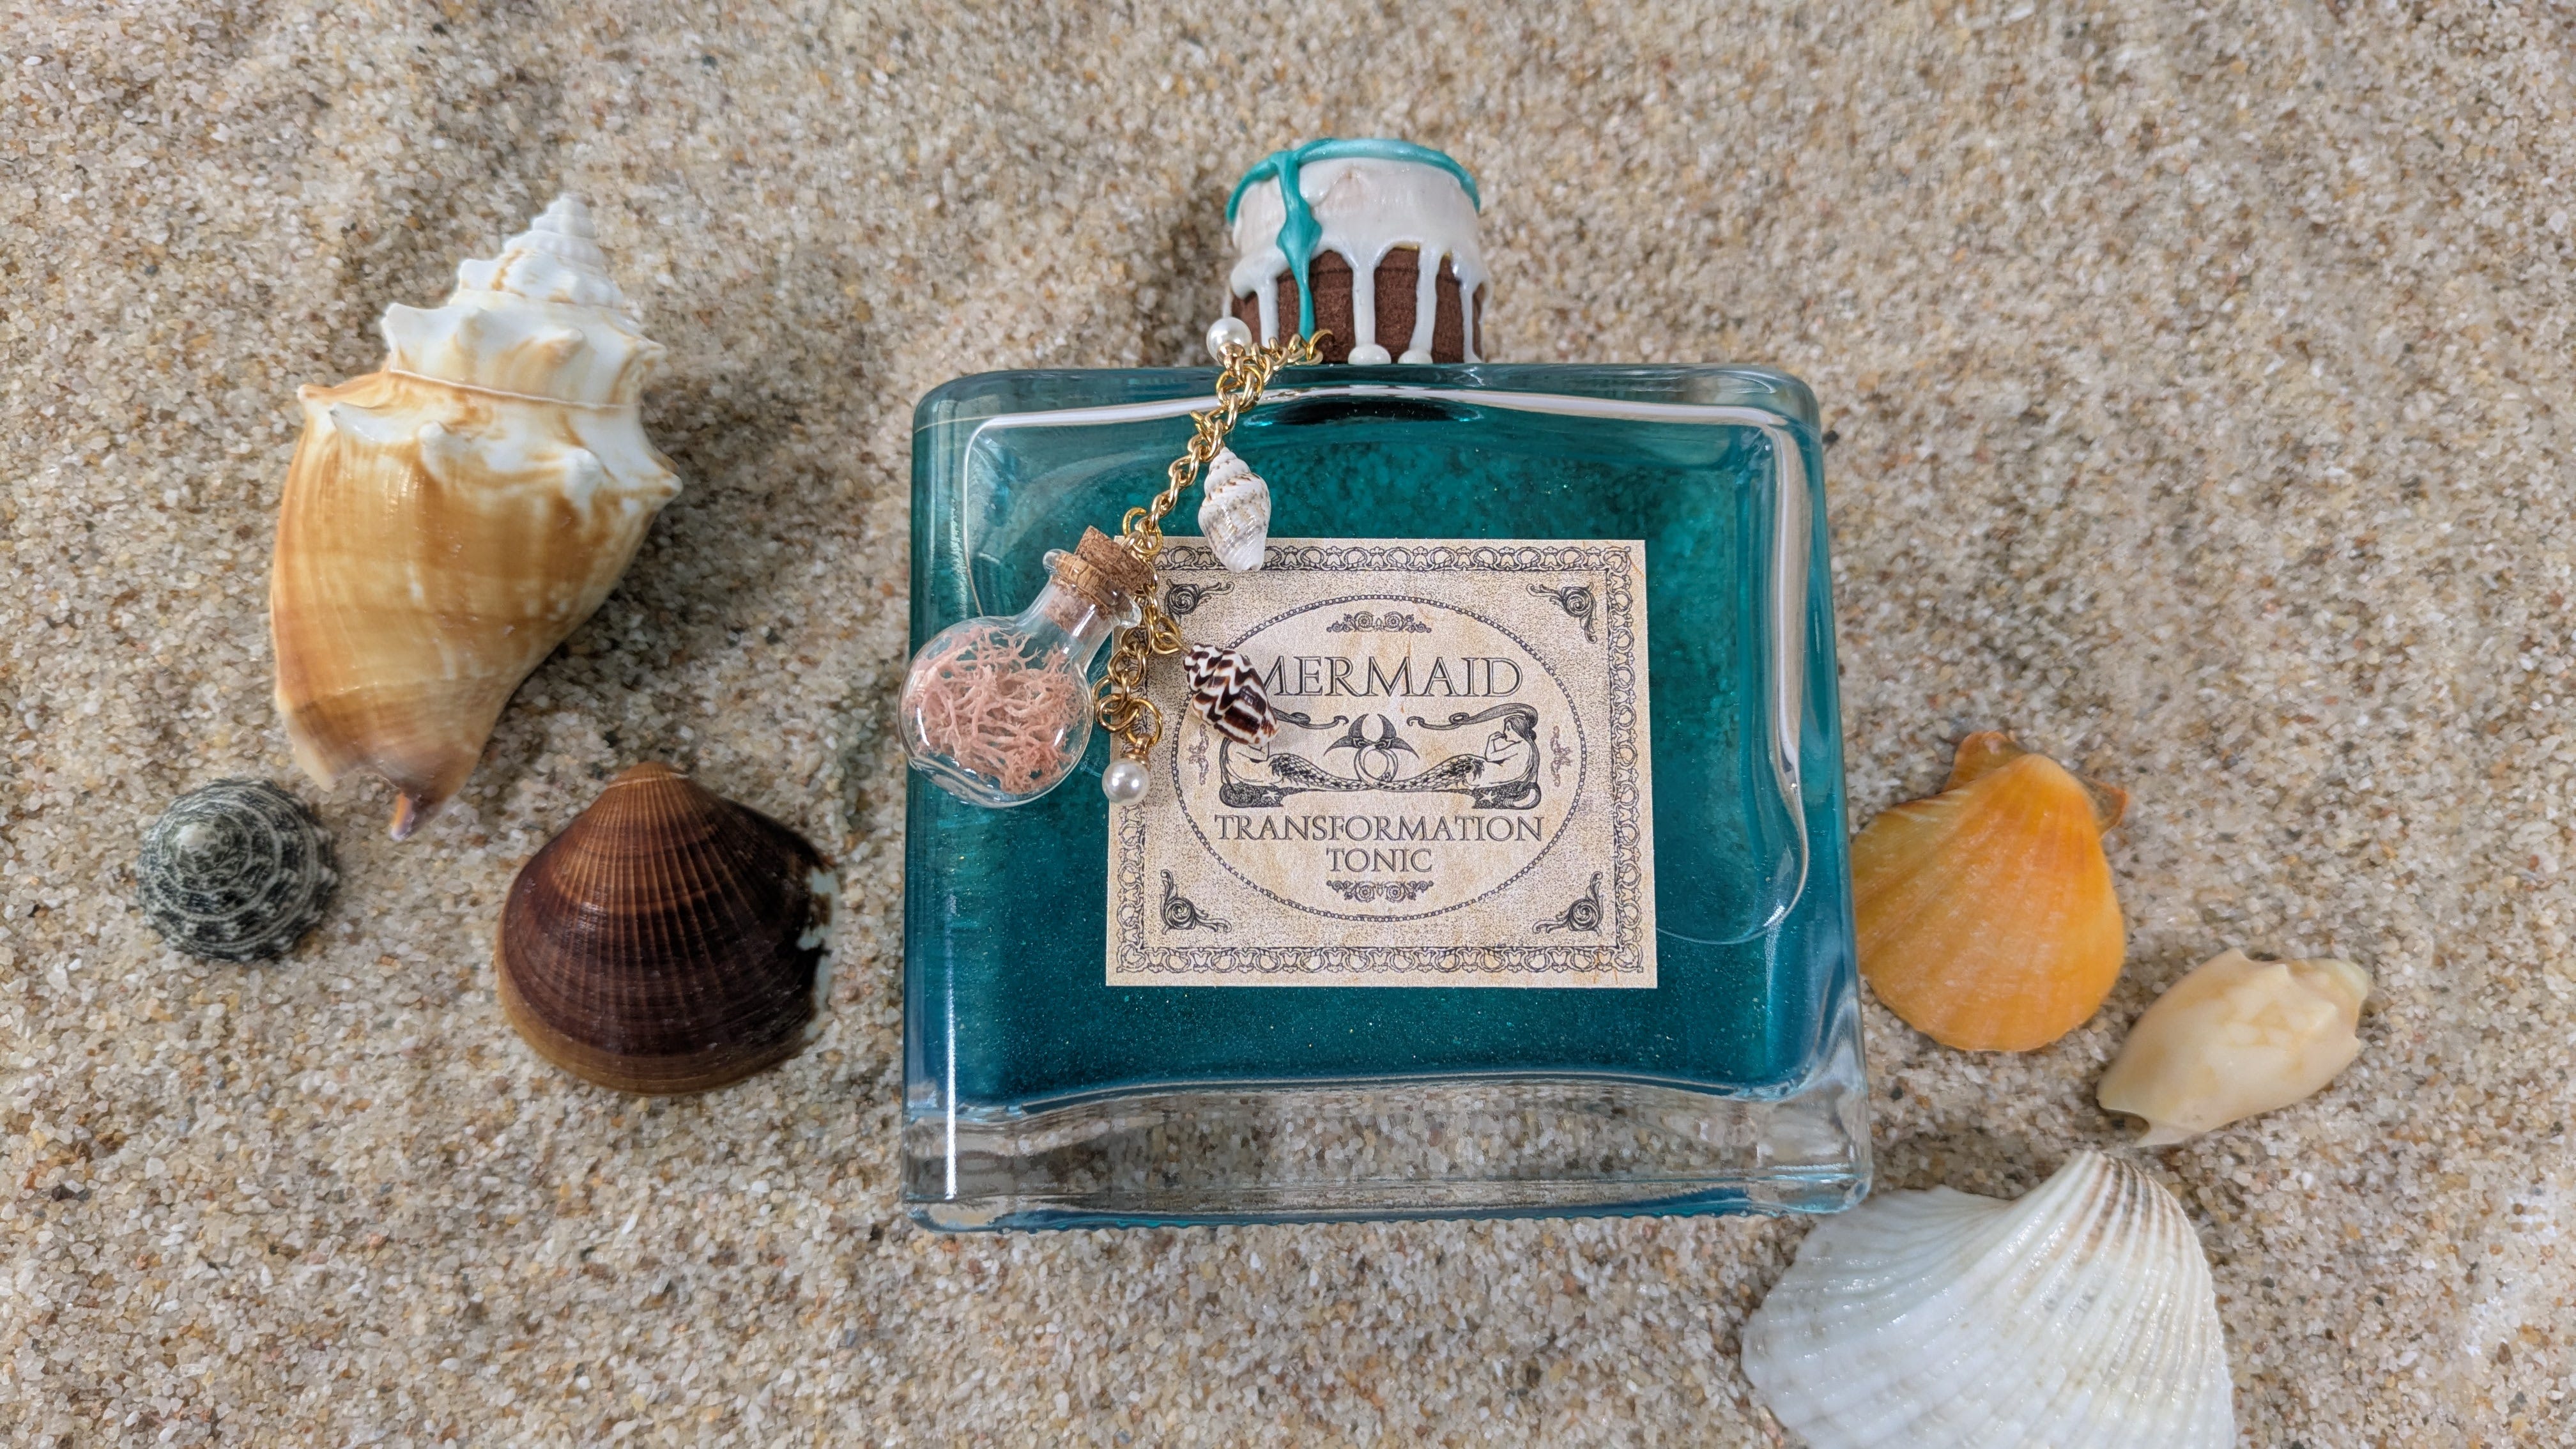
#9 Sticker Paper Saves Time (and Sanity)
There are two ways to make potion labels, and each has its own appeal. You can create your design, print it on printer paper, age your paper (using paint, tea, or coffee), and then add the label using a glue like Mod Podge. Or, you can create your design with color and invest in sticker paper, making adding the label to your bottle much easier and faster.
Initially, I tried using regular paper and glue, but one day I picked up one of my bottles and the label fell off. I hadn’t attached it as well as I thought-a problem that sticker paper would have prevented. You can buy sticker paper for as cheap as $10 on Amazon, and then hand-cut the labels or use a cutting machine.
I use Canva to create labels and add vintage paper as a background to give the label that aged look. I also seal the tops of my labels with Mod Podge, which gives the flat label a textured look that feels more authentic.
#10 Don’t Waste Fancy Bottles
Potion bottles can be pricey-usually $3-$6 at craft stores. When it comes to potion crafting, I always repurpose bottles to experiment with or use for ingredient storage. I keep Orbeez on hand for my Spider Eggs and Eye of Newt Apothecary Jars and store them in old pasta sauce jars. Most of my potion experiments are done in upcycled sauce bottles.
Now I’ll be the first to admit that I am a bottle/jar hoarder, but it works itself out because I always have one when for when I want to experiment with a new potion idea. Reusing bottles isn’t just cost-effective, it keeps your creative experiments sustainable. When you finish with one experiment, reuse it to make another potion.
Tip: Clean bottles in the dishwasher or by using warm soap and water. Remove labels by soaking bottles in hot soapy water or using Goo-Gone.
Potion crafting has been such a rewarding adventure-every mistake taught me something new. I hope these lessons make your potion-making journey smoother (and a lot more magical).
If you’re interested in more about making color-changing potions, check out my article: 6 Things You Need to Make a Color-Changing Potion. Or, if you want to see some behind-the-scenes of my potion-making process, check out my YouTube channel.
To find what I use for potion making, check out my Amazon Storefront or my Small Business Resources Guide.